
This is the second post in the “Getting Started with R Programming” series. In the previous post, we discussed the processes for getting the R programme from the CRAN website. We also constructed simple R code, created a scatter plot, and stored the code in .R source file.
The R programme features a very simple graphical user interface (GUI). You may create complicated analyses with this simple GUI, but it can be a time consuming and difficult effort. One such GUI which makes R programming easy, efficient and fun is RStudio. RStudio is an Integrated Development Environment (IDE).

You can see a noticeable difference between two interfaces. In this article, we will install RStudio on our machine and quickly run through its user interface.
RStudio Installation
RStudio is a powerful user interface for R Programming. It is free, open source, and works on multiple platforms including Windows, Mac and Linux.
Note that RStudio does not include R, so you need to make sure that you installed R before installing RStudio.
To install RStudio, visit Posit website. Posit is open source data science company that developed the RStudio IDE.
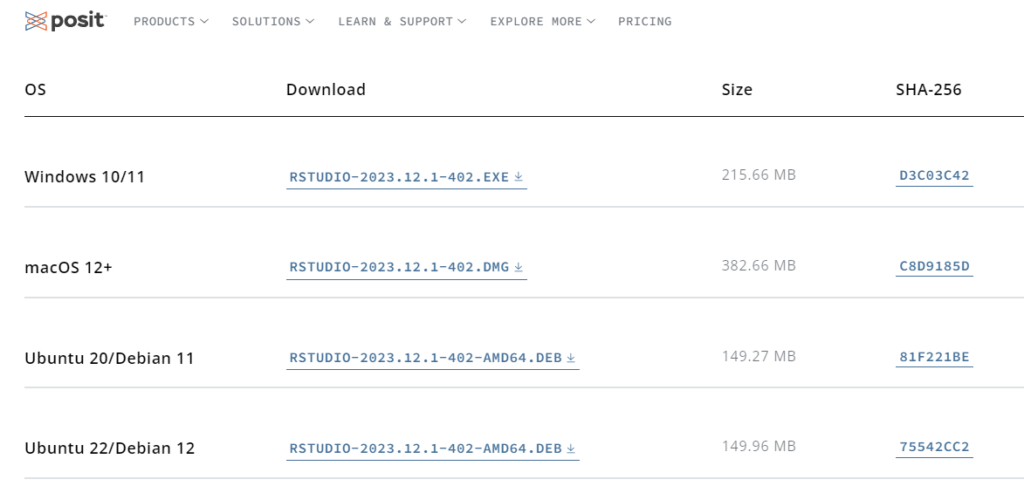
Select the operating system and follow the download instructions. When download is completed, double click on the RStudio executable file, and follow the on-screen instructions. You can run executable file with all default options.
Difference between R and RStudio
RStudio is an Integrated Development Environment that runs analysis activities in the background using the R programming language. Note that RStudio does not include R.
“At its simplest, R is like a car’s engine while RStudio is like a car’s dashboard. More precisely, R is a programming language that runs computations, while RStudio is an integrated development environment (IDE) that provides an interface by adding many convenient features and tools. So just as the way of having access to a speedometer, rear view mirrors, and a navigation system makes driving much easier, using RStudio’s interface makes using R much easier as well.”
Page 8, Statistical Inference via Data Science, A ModernDive into R and the Tidyverse, 2018
RStudio has very powerful features that hugely boost your productivity in data analysis and visualization. It supports syntax highlighting, auto completion, multi-tabbed views, file management, embedded graphics view, package management, integrated help viewer, code formatting, version control, interactive debugging, and many more features.
“RStudio integrated development environment (IDE) is a set of tools built to help you be more productive with R and Python. It includes a console, syntax-highlighting editor that supports direct code execution. It also features tools for plotting, viewing history, debugging and managing your work space.”
posit website
RStudio’s user interface
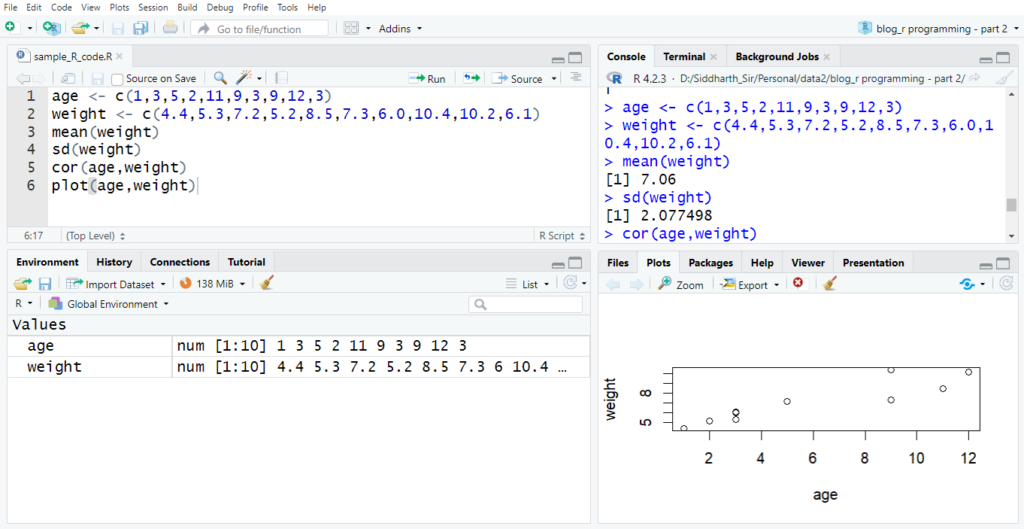
The following screenshot shows the RStudio user interface in Windows OS. It looks largely the same for Mac OS.

You may notice that the main window consists of several parts. Each part is called a pane and performs different functions.
The console
The following screen shot shows R console embedded in R studio.
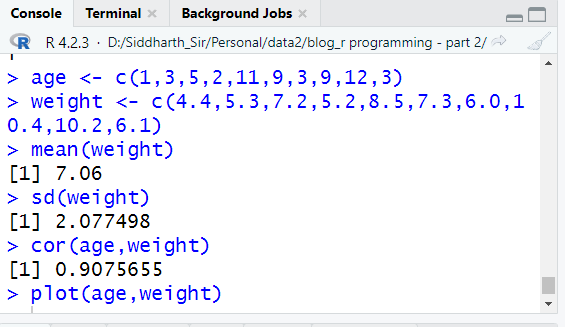
The R console works in the same way as command prompt or terminal. The R console is similar to the REPL environment. A Read-Eval-Print Loop, or REPL, is a computer environment where user inputs are read and evaluated, and then the results are returned to the user. When you type a command in R console, RStudio will submit the request to R Engine. R Engine then executes all commands and returns the results back to console immediately.
The Editor
Typing all commands in console is not efficient way of writing R code. Instead, we write scripts, a set of commands representing a logic flow that can be read from a file and executed by the R engine. Just as notepad is used to write quick notes, the editor is used to write logical sequence of R commands. In order to create the R script go to File->New File->R scipt. You can also click on green plus sign as shown in the screen shot.


The editor is useful to write the R code, save your work, share the code with other team and re-run the analysis steps again in future.
Useful functionalities of the code editor
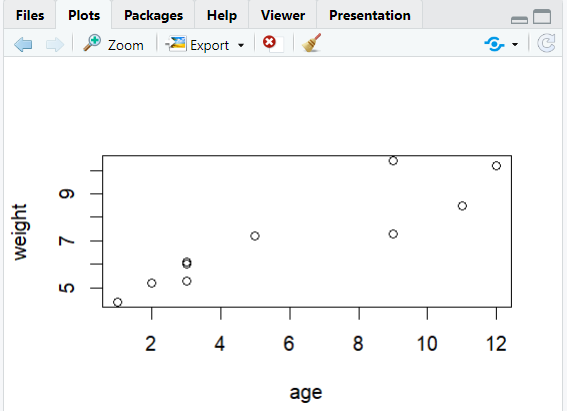
The functionality of the code editor is much more than a plain text editor: it supports syntax highlighting, auto-completion of R code, debugging with breakpoints, and so on. Create the new R script and copy paste the following code into it.
age <- c(1,3,5,2,11,9,3,9,12,3)
weight <- c(4.4,5.3,7.2,5.2,8.5,7.3,6.0,10.4,10.2,6.1)
mean(weight)
sd(weight)
cor(age,weight)
plot(age,weight)
Some important editor features are listed below:

- Run the current line or selection by pressing Run button. You can also use keyboard shortcut Ctrl + Enter to run the current line or selection.
- You can re-run the previous selection by pressing the Re-run button, which appears immediately after the Run button. You can also use keyboard shortcut Ctrl + Alt + P to re-run the previous selection.
- Press Tab or Ctrl + Space to show an auto-completion list of variables and functions that match your current typing.
The Environment Pane
The Environment Pane shows variables and functions you have created in current session. By default, it shows the variables in Global Environment, the user work-space in which you are working.
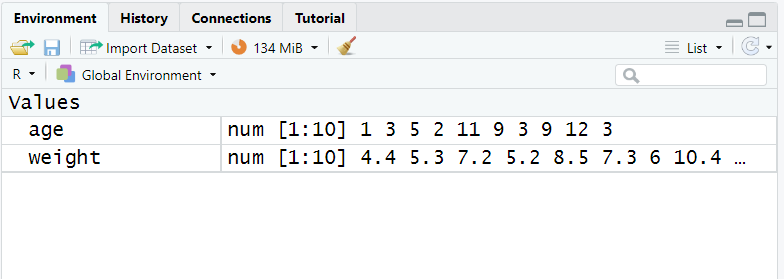
Each time you create a new object (a variable or function), a new entry will appear in the Environment pane. The entry shows the variable name, its data type and value.
The history Pane
The History pane shows a log of all previous expressions evaluated in a session.
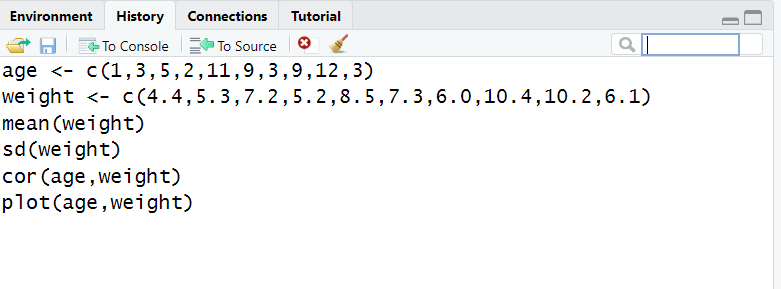
you can save the log in .RHistory file by selecting save icon in the history pane. the file is saved in working directory. To Console and To Source options insert the selected commands in console and source document respectively.
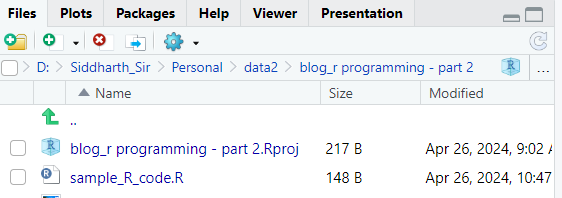
The File Pane
The File pane shows the files in the folder. You can navigate between folders, create new folders, delete or rename folders or files, and so on.
The Plots Pane
The Plots pane is used to show graphics produced by R code. If you produce more than one plot, the previous ones are stored and you can navigate back and forth to view all plots (until you clear them). You can also export the plots to PDF and other image formats.
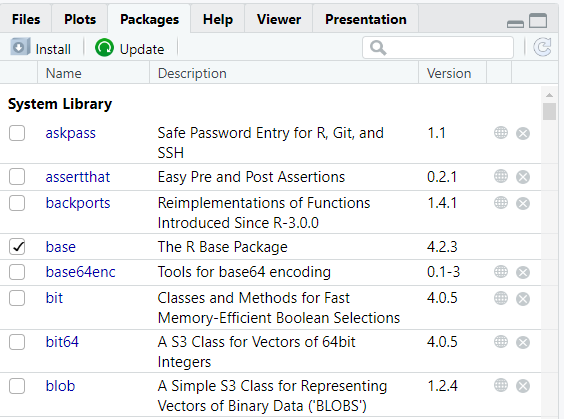
The Package Pane
Packages extend the capabilities of R. Much of R’s power is derived from its packages. Packages are collections of R functions, data, and compiled code in a well-defined format. In the Package Pane, you can easily install or update packages from CRAN or remove an existing package from your library.
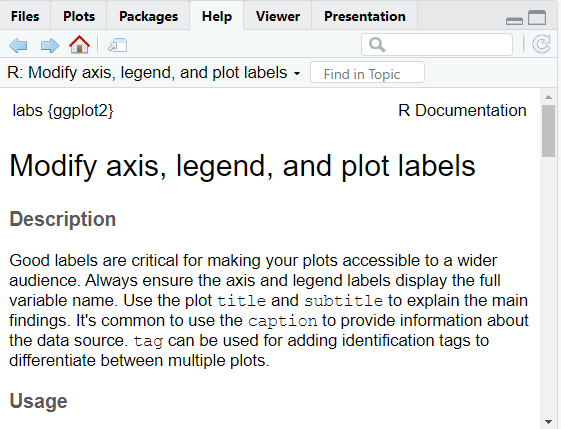
The Help Pane
Every function in R has detail documentation. The document is well structured information of a function, starting with its description, usage and working example. There are numerous ways to view function documentation.
- Type the function name in search box
- Type the function name in console and press F1
- Type ? before the function name and execute it in console. For e.g. ?mean will display the document of mean( ) function.
Summary
RStudio is a powerful user interface for R Programming. Note that RStudio does not include R, so you need to make sure that you installed R before installing RStudio. We installed RStudio and became familiar with its user interface. It has four main parts:
- Editor: It is used to create R scripts and write programming instructions.
- Console: It is used to execute the programming instructions.
- Environment:It is used to check the variables created in current environment.
- Files and Plots: It is used for file and plot management.
Now that RStudio is installed on your machine, its time to learn the nuts and bolts of R language – The R Objects. In the next article, we will look into various R objects and its data types.